Tag Archives: Technique

Review: “Light & Land” by Michael Frye

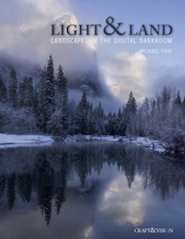
Over the past few weeks I have had the chance to go through Michael Frye’s new ebook, “Light and Land: Landscapes in the Digital Darkroom.” Many are no doubt already aware of Michael’s reputation from his photography, his workshops, and his other publications including his “Photographer’s Guide to Yosemite” and “Digital Landscape Photography: In The Footsteps of Ansel Adams and the Masters.” I have the .pdf version of “Light and Land”, and I understand that an iPad app version may also be available.

Light and Land - Michael Frye

It is typical for photographic “how to” books to focus on specific techniques, and to be organized around a presentation of these techniques – perhaps with a section on curves, a section on black and white conversion, and so forth. This approach has its place, especially for certain types of learners and at certain points in the learning process. It is important to understand the basic techniques and operations that are available in the “digital darkroom” of such programs as Photoshop, Lightroom and so forth. That said, the bigger and more important issue is how to call upon these techniques creatively and effectively and appropriately in order to make photographs. Not all “how to” books do an effective job of illustrating this.

Michael’s “Light & Land” takes a different approach, and one that more accurately and realistically reflects the thought process of a photographer who is calling upon this arsenal of techniques in the service of creating beautiful photographs.  He writes:

“The digital darkroom gives us tremendous control over our images. We can make them lighter, darker, add contrast, change the color balance, increase saturation, turn a color photograph into black and white, remove telephone poles, blend exposures with HDR, combine ten images to capture infinite depth of field, or put a winged elephant in the sky.

But what do we do with these choices?” Continue reading Review: “Light & Land” by Michael Frye

Tripods and Shooting in High Winds

I recently saw – and replied to – a question posted in a photography forum regarding tripods and shooting in high winds. The poster wrote something very similar to the following:

I realized that many shots from a recent trip are blurry because of wind shaking the tripod. Even hanging 10lb weight did not help. So now, I am looking for a new tripod that won’t be affected by wind.

What the writer has discovered is that no tripod is immune to strong winds, especially if you make long exposures and/or use long focal length lenses. Even if you had an absolutely rock-solid tripod, in a 40 mph wind your camera and lens will vibrate enough to create a slightly less sharp image.

So, what to do? You could get the heaviest tripod you can find and weight it down with bags of rocks and what not. But then you are stuck hauling around the dead weight of this tripod the other 95% of the time when you don’t need it.  Yes, get a good solid tripod and a good head with good camera brackets, but other things can help in high winds and, in fact, may be necessary even with the best tripod:

  • Use a shorter focal length if possible.
  • Use a higher shutter speed, even at the expense of a higher ISO, larger aperture, and accept the slightly increased noise or slight loss of DOF.
  • Consider using image-stabilization (IS) even with the camera on the tripod in extreme conditions.
  • Don’t extend the tripod legs all the way – if possible shoot from down low to the ground with the legs retracted.
  • try to brace the tripod against something – rocks, your legs, anything that will dampen vibrations a bit.
  • Try to use natural wind screens when you set up – sometimes being in the lee of a wall or tree or rock can diminish the wind enough to make a difference.
  • Time your shots for moments of less wind.
  • If your exposure times are not extremely long, gently resting a hand on the lens or camera body can dampen the wind-caused vibrations.
  • Rather than relying on a single exposure, make many redundant exposures – some will likely be less affected by the wind than others.
  • If you have a strap attached to your camera, take steps to make sure it doesn’t flap. Wrapping it around the tripod may be sufficient.
  • If conditions permit, consider removing your lens hood.

I recall once shooting on top of a bluff at the far reaches of Point Reyes, normally a very windy place and on this day windy enough to almost be scary. But the light was beautiful and I wanted to make photographs from the edge of the bluff. I ended up retracting the tripod legs so that the camera would be lower to the ground, sitting with the tripod braced between my legs, using IS, leaving a hand on the camera to dampen vibrations, raising the shutter speed, and making many exposures. In the end, a good percentage of the images were adversely affected by the wind… but among them were some good ones that were sharp.

Point Reyes Shoreline

G Dan Mitchell Photography | Twitter | Friendfeed | Facebook | Facebook Fan Page | Email

10 Critical Tips for Landscape Photographers

1. Use a camera. The most important and basic tool of the landscape photographer is the camera. Using a camera greatly simplifies the process of capturing photographic images, and without one you’ll likely feel a bit lost. You may have noticed that pretty much all great landscape photographers use a camera – some use more than one! – so take a cue from the pros and make sure you have a camera, too!

2. Get a lens. Having a lens makes your camera much more useful. While a camera is critical to your work as a landscape photographer, without a lens the usefulness of the camera is greatly diminished. For this reason, virtually all successful landscape photographers end up, sooner or later, getting a lens to use with their camera. You’ll definitely want one, too – just like the pros! (Some cameras come with a lens built in – what a useful idea!)

3. Remove your lens cap. How many photographers can tell stories of forgetting to remove the lens cap before making a photograph, only to discover that the results were not what they had hoped for? But you don’t have to learn the hard way! Practice removing your lens cap at home – that way, when you are in the field you will have developed “photographer’s instincts” that will ensure that you remove the lens cap. (The good news is that with digital cameras you don’t have to worry about whether you loaded the film – but don’t forget your memory card!)

4. Photograph interesting things. Although it isn’t universally true, you will probably get more interesting photographs if you photograph interesting things. There are many things in the world, and not all of them are interesting. Look for the interesting things and photograph them. Look around – it is an interesting thing to do! Interesting, yes?

5. Pick the right brand. There are many brands of photographic equipment out there – cameras, lenses, filters, bags, you name it. Picking the wrong brand may hamper your photography; pick the right brand and you may not hamper your photography so much. So be sure to pick the right brand. If you aren’t sure which brand is best, talk to photographers – any one of them can tell you which is best… and why!

6. Light is important. Without light it would be pretty much impossible to make photographs, at least the typical landscape photographs. So if you plan to make typical photographs, look for scenes that are illuminated by… light! Light is your friend. Seek out light and when you see it make photographs. Think about it… how many of the photographers you admire work without light? So, do what the pros do – use light!

7. Pick the right subject. Pick the wrong subject and your photograph won’t be what you wanted it to be, so be sure to photograph the right subject. Seek it out and when you see the right subject make a photograph. Perhaps make several. There are so many subjects in the world that finding the right one can be a challenge, so be sure to apply yourself carefully to this task.

8. Colors are important. Unless you are making black and white photographs – in which case the only important colors are black and white. You’ll want to pay careful attention to color. The most important advice is to focus on color in your color photographs – just like the pros!

9. Focus on what is most important. Some people think that mastering technical issues is the most important thing. Others think that having the right equipment is critical. Some claim that the artistic quality of the photograph is important. (Don’t forget – color is important, too!) Before you make great photographs you’ll have to decide which is the most important in your work. Don’t waste your time being a generalist and trying to do everything – pick one and focus on it!  Successful photographers develop a speciality and stick to it.  And don’t forget the rule of thirds!

10. Find good locations. There are many popular spots to make photographs, and you can make photographs just like the pros if you seek out these locations and shoot there, too. You’ll have to be attentive, since these spots are easy to miss if you are talking on your cell phone as you drive past them. Some telltale hints include parking lots full of cars and lines of people with tripods. Stop and make a photograph – there is always room for one more tripod! You can probably make one that looks just like those that the other photographers are making! (Hint: You can also visit online photography sites ahead of time – both to find the locations and to save yourself from spending too much time searching for compositions when you actually get there. Your time is precious!)

Good luck!

(I probably should have saved this for April 1, but I couldn’t wait… :-)

For those whose first experience with my blog is this tongue-in-cheek post, I write serious stuff, too, and a related recent post might interest you: Photographic Myths and Platitudes – ‘Landscape Photography Lenses’ (Part I)

Fifteen Ideas For Photographing Professional Bicycle Races

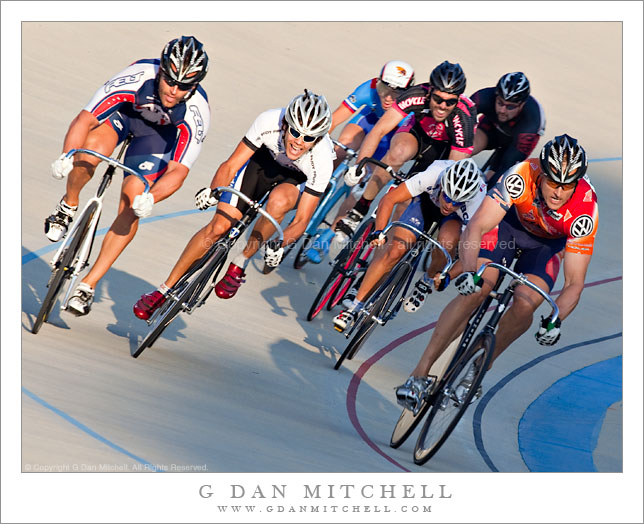
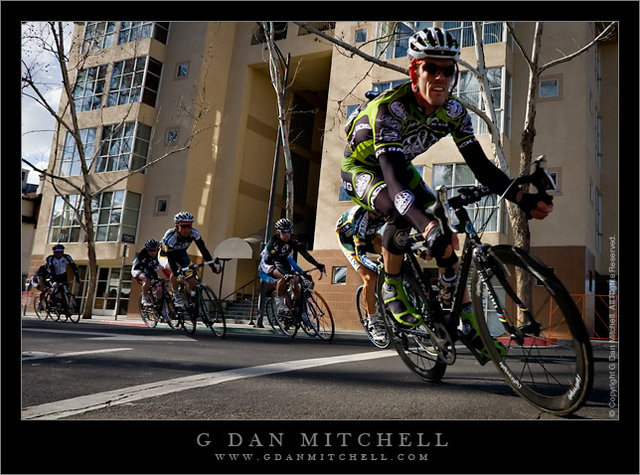
Some might be surprised to find that I take every opportunity to photograph bicycle racing. Although I’m primarily an urban and natural landscape shooter (to generalize just a bit) I also have a passion for shooting a few other surprising subjects. One of these is professional bicycle racing. Although I never raced, I was at one time a very serious cyclist. I trained with folks who did race and for several years I rode as if I were preparing to race, doing over 10,000 miles per year. With that in mind, it might  seem less surprising that I interrupted my photographs of Death Valley, the coast redwoods, and the Pacific coastline to post a week of bicycle racing photos.

During the last few years I’ve been fortunate to be able to shoot stages of the Amgen Tour of California professional stage race in northern California. As I’ve done so, I’ve gradually figured out more strategies that let me get some effective photographs. Here’s a quick summary of a few of them.

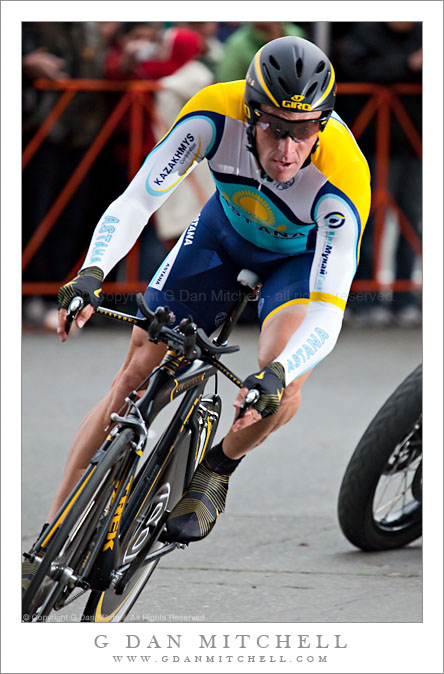
  1. Time trials, especially those on short courses, can be the best opportunity to shoot riders on their bikes. Each competitor rides the course individually, so you can get a clear view of the rider approaching. Because lower ranked riders go first, you can experiment with locations, lighting, and so forth on them… and have your shooting strategy worked out by the time the big names arrive.
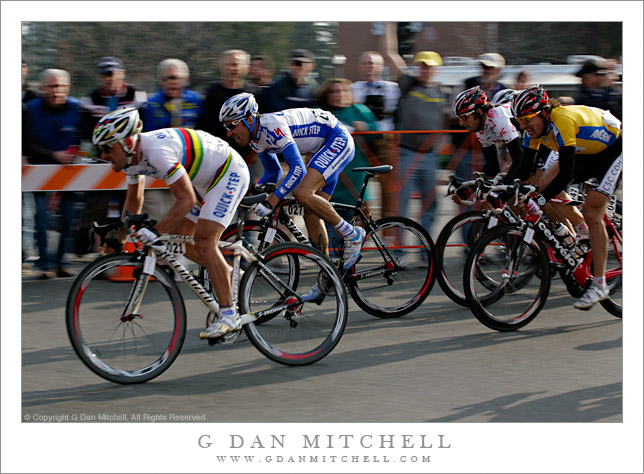
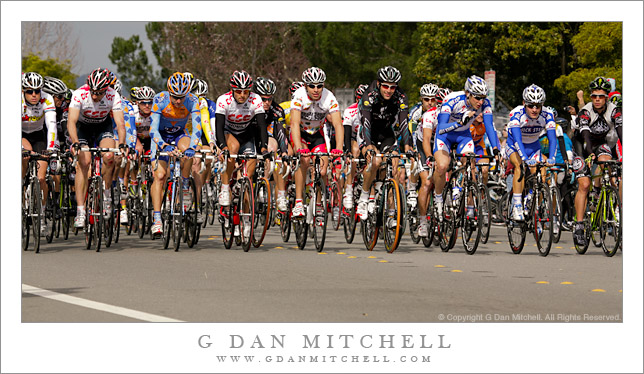
  2. If you want to shoot the peloton (the pack of riders) try to do so at a start in a downtown area that includes “parade laps” – where the pack does a few loops at less competitive speeds before heading out on the open road. You’ll have similar opportunities at the end of a stage that finishes with several downtown loops, though things tend to happen a lot faster at the end than during the parade laps.
  3. If you try to shoot a sprint finish and cannot be right at the finish line – and you probably cannot – try to be in the area 100-200 meters from the line. At this point there is tremendous action as the final sprint starts to take place and, in my experience, some very dramatic shots are possible – even more so than at the finish line when the race has usually already been decided.
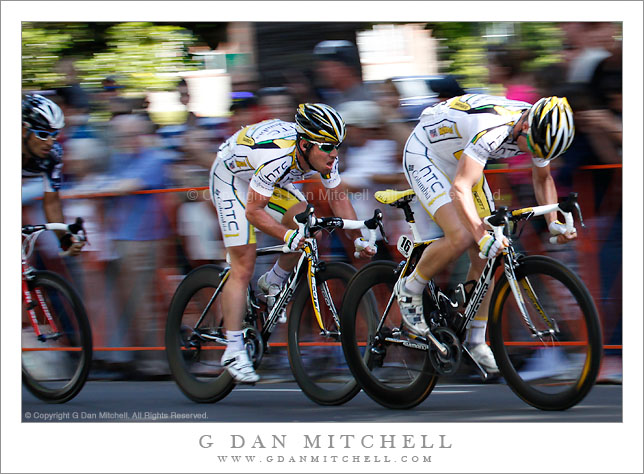
  4. In all of these situations, unless you are very experienced at tracking riders close up with a long lens as they fly by at high speed… practice on every rider that comes by. I’ll even practice tracking support motorcycles, police escorts – anything that moves. Eventually you want to pan smoothly while you remain continuously aware of the position of the riders in the frame – and the non-rider elements in the background. To put it mildly, this isn’t easy – and it takes a lot of practice.
  5. When you track riders moving at high speed, think about putting their torsos/hips in the center of the frame vertically. Unless you are shooting very tight, if you center their heads you’ll get lots of empty space above them and cut off their legs and bikes.

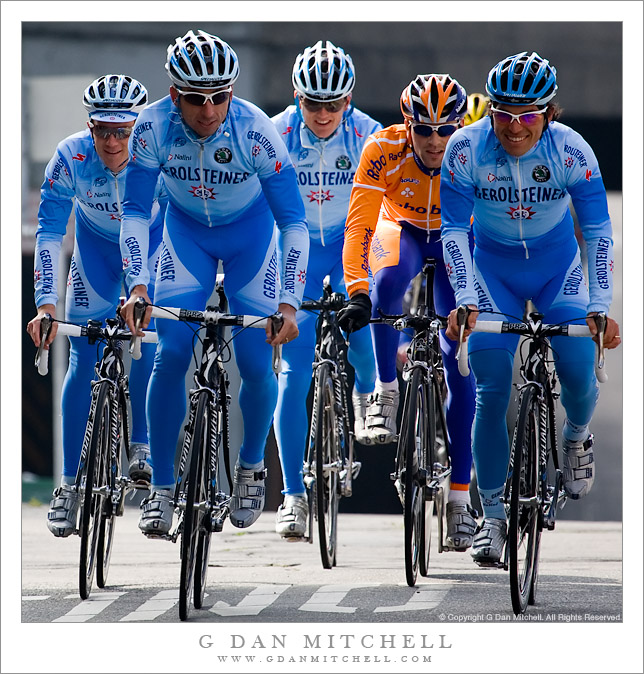
    Team Gerolsteiner Warms Up for the Prologue
  6. Pick your shooting location carefully. You certainly want a spot where the riders are likely to be in dramatic and dynamic positions. Turns can be good for this, for example. But also carefully consider the background to your shot – who is standing on the other side of the road and what is beyond the riders. (I once shot a series of riders warming up for a time trial… only to realize later that there was a bright green outhouse behind them!) Also think carefully about the ambient lighting. If the riders are backlit there is a good chance that they will be very dark. I try to place myself in a position where they will be front or side-lit.
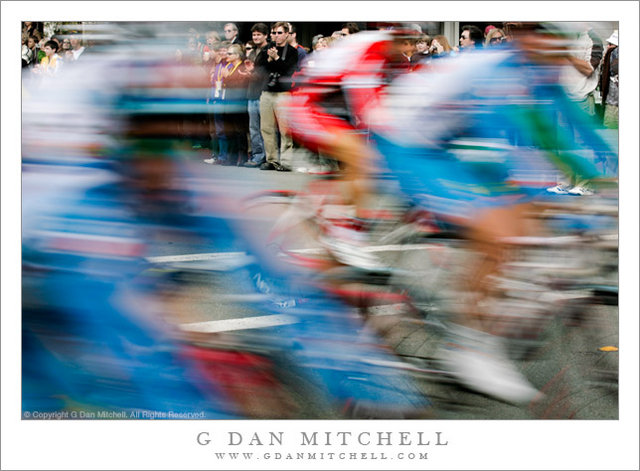
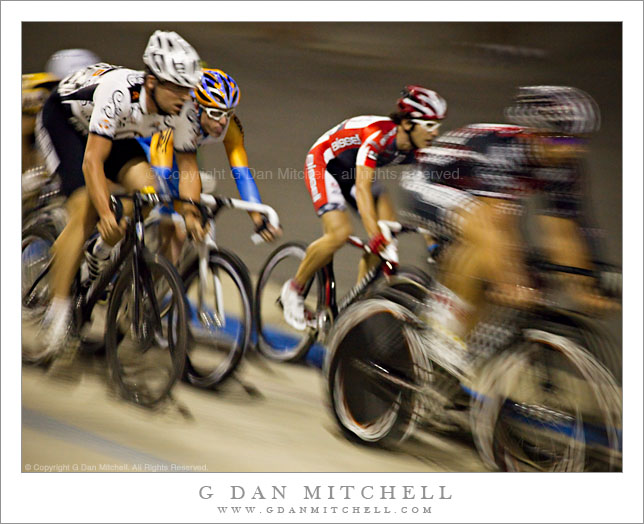
  7. Counter-intuitively, very high shutter speeds may not always be a good choice. Yes, you may stop the action – but you also may end up with very static looking shots. In many cases you’ll more effectively capture the speed and motion of racing if you lengthen the exposure and track the riders, thus allowing some motion blur.
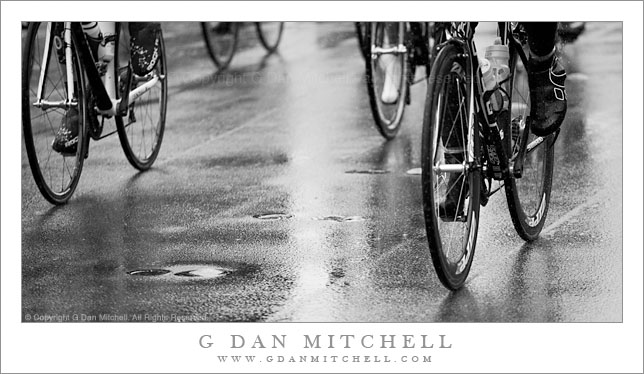
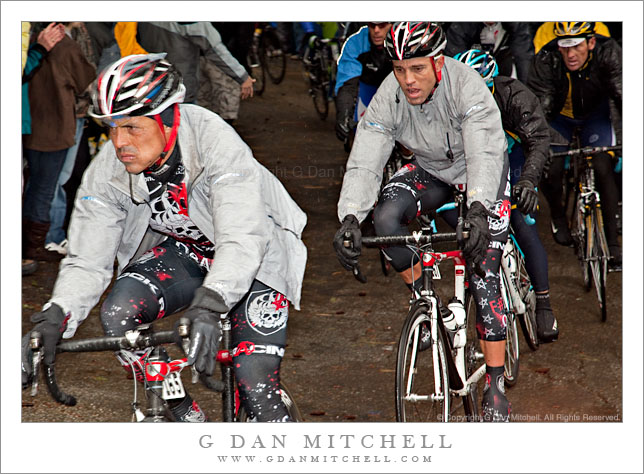
  8. Don’t let bad weather dissuade you from shooting. Often rain or clouds or fog can make for some of the most dramatic images. Be careful with your gear, but try to take advantage of these conditions.
  9. If you are going to try to shoot the pack in the middle of a long road stage, you need to plan carefully. The road will often close well before the peloton arrives, so you need to be in place well ahead of time – an hour or many hours before the race passes. If possible, scout the area where you think you’ll shoot ahead of time. Look for a dramatic setting – an expansive view, a bridge, forest, anything that can make your shot something other than just “bikes on a road.” Consider shooting on an uphill section – the pack will go more slowly. Try out different focal lengths to see what will work best in your location. Consider having two camera bodies with different lenses – a telephoto to do long shots as the group approaches and a shorter lens to shoot the pack as it is right in front of you.
  10. The pack will pass very quickly. A few motorcycles will pass, then the pack will suddenly appear in a rush of color and wind, followed quickly by the support vehicles… and then they are gone. You’ll have only seconds to shoot. You must pick your spot ahead of time. You’ll almost certainly want to use burst mode – perhaps shooting jpg so that you can get more images before the camera buffer fills. Better to err on the side of using a focal length that is too short (wide) than one that is too long (telephoto) – you can crop later if necessary.
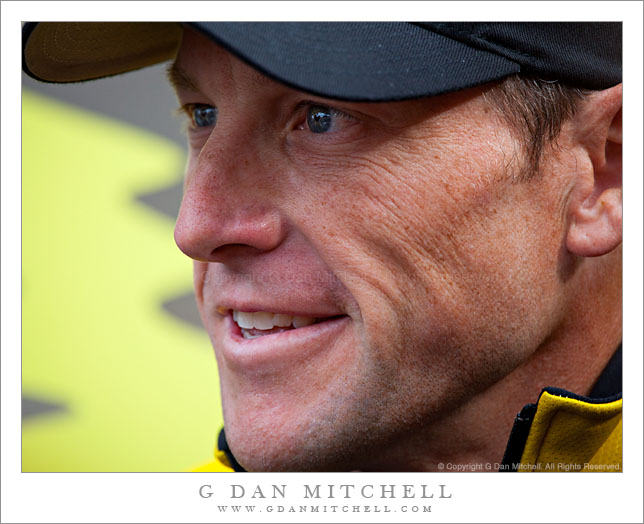
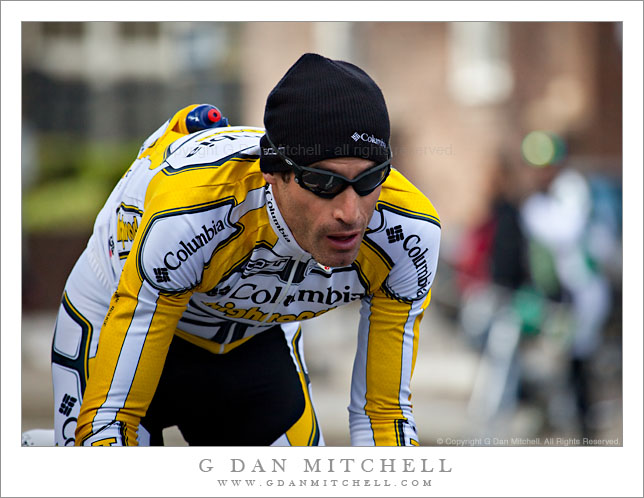
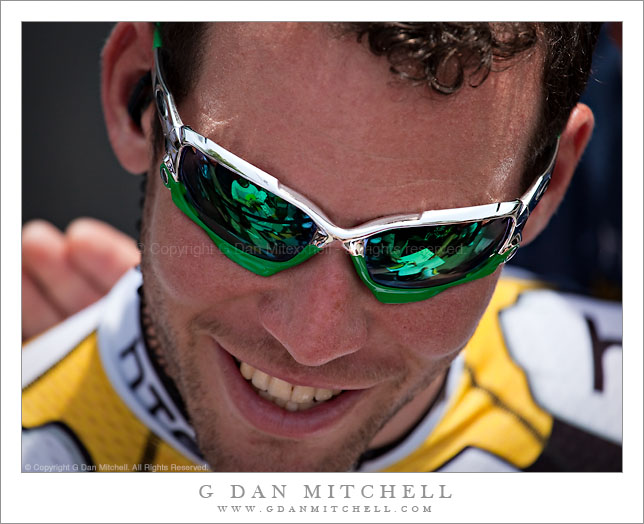
  11. The actual race is not the only thing worth shooting – there are many, many interesting subjects before and after the race. I often find interesting subjects among the spectators waiting for the pack or even watching the peloton pass. One of the great things about pro bike racing is that you have amazing access to the riders in the team area before the race. I often spend at least an hour there before the race, shooting like crazy so that I don’t miss anyone. You may look up and see Lance Armstrong riding past you five feet away, or you might see some guy you don’t recognize talking to fans – only to find out later in the day that he was the stage winner. I generally use a relatively long lens in this area and “snipe” – getting close shots of riders. (You’ll generally have far fewer opportunities like this after the race, when the riders quickly disappear.)
  12. Occasionally try things that aren’t quite so obvious. I once found myself on an inside corner a few blocks from the end of a stage as the peloton came into town. I put on my widest lens – a 17mm zoom – and stuck the camera through the fence down low to the ground. With the camera in burst mode I shot as riders leaned into the turn only a foot or two from the camera.
  13. Large apertures are often better than small apertures. Yes, the small apertures give you greater depth of field – but they also force you to shoot a slower shutter speeds (not always a bad idea…) and put non-central subjects in sharper focus. Often the riders will stand out more against an out of focus background than against a busy in-focus background. (It is difficult to generalize too much about this though – if you are already throwing much of the scene out of focus by using a slow shutter speed, there can be advantages to the smaller aperture.)
  14. When shooting individual racers, especially in the team area, do shoot a lot of frames – but also think carefully about what the riders are doing and what they look like. I’ll often try to quickly get an initial shot that is serviceable – but once I get that I become a bit more selective. I’ll watch the subjects face for the most interesting expression or better light. I’ll also watch to see them interact with fans – this often creates really compelling moments.
  15. Shoot a lot. Things happen quickly, and not just on the course. Not every shot is going to be a great one, but you’ll often have little time to carefully consider each shot – better to work on instinct. (Oddly, I realized a few years ago that the closest experience to this might be shooting certain types of wildlife – birds in flight for example.)

© Copyright 2010 G Dan Mitchell – all rights reserved.

G Dan Mitchell is a California photographer whose subjects include the Pacific coast, redwood forests, central California oak/grasslands, the Sierra Nevada, California deserts, urban landscapes, night photography, and more.
Blog | About | Flickr | Twitter | FacebookGoogle+ | 500px.com | LinkedIn | Email

Text, photographs, and other media are © Copyright G Dan Mitchell (or others when indicated) and are not in the public domain and may not be used on websites, blogs, or in other media without advance permission from G Dan Mitchell.