(Updated: May 2015)
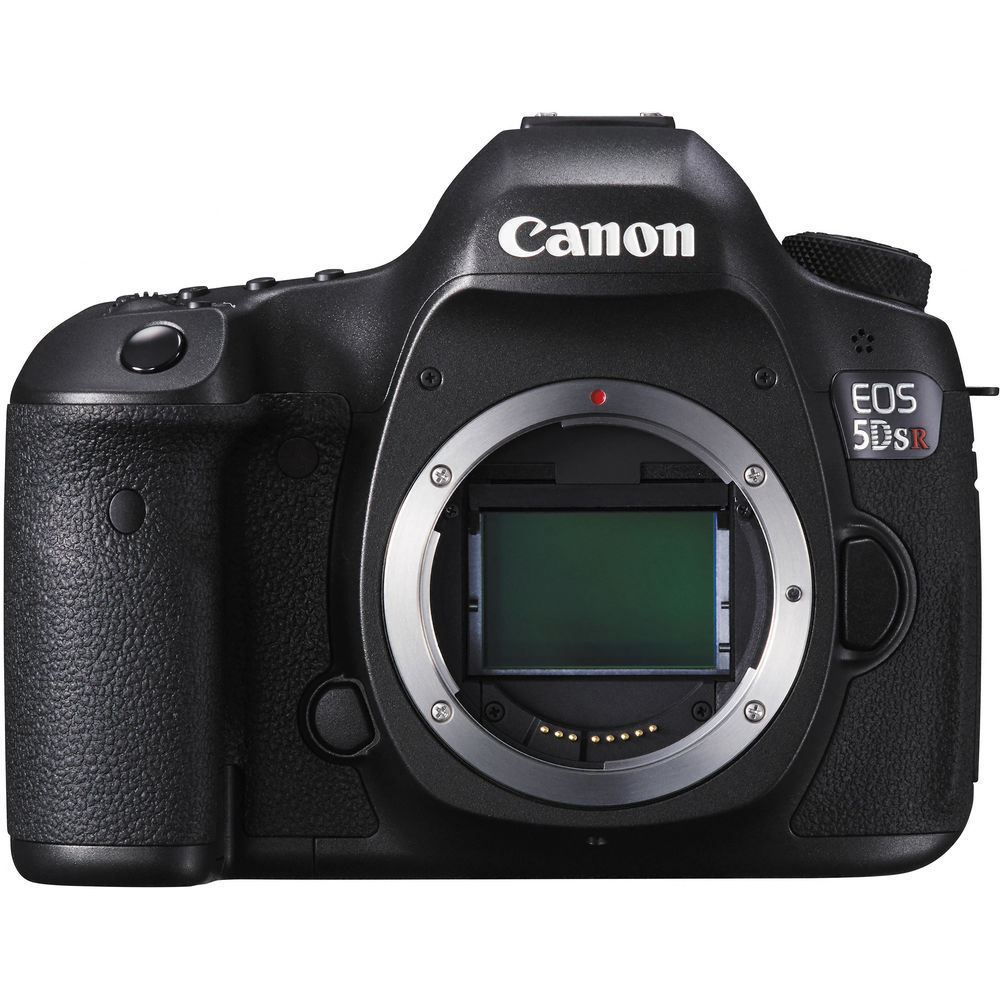
In February 2015 Canon announced the new EOS 5DS DSLR bodies in two versions: the EOS 5DS and the EOS 5DS R The “R” model does not apply anti-alias filtering (AA-filtering) to the image. This is said to have the potential to optimize image sharpness in some cases, though it increases the risk of aliasing/moire artifacts in photographs that include fine patterns such as fabric, screens, and similar. Both versions of the camera have 50.6MP sensors, which more than double the number of photo sites compared to previous Canon 21MP and 22MP full frame sensors.
A big question for people considering this camera is how much potential for image improvement will come from the higher-MP sensors. My feeling is that the improvement should be meaningful for photographers who already push the upper boundaries of potential print size from full-frame image files, but that the increase in MP will not likely mean much to photographers who don’t do this. Since I’m in the former category — and therefore quite interested in the new bodies — I wondered how this might play out in an actual print. (Prints, after all, are where the rubber meets the road with high MP cameras.)
I did not have access to raw files from the new camera at the time of this test, however Canon had made full resolution jpg files available online. (RAW files were not available at the time I conducted the test, but they are not necessary for creating a high quality print, as long as extensive post processing is not used.) I downloaded “Image 2” from the link, which appears to be a straight-from-camera jpg image made with the Canon EF 16-35mm f/4 L IS lens at f/11, 1/500 second, at ISO 200. The image is an aerial photograph of a dense downtown area, with many buildings and other details, including some that should reveal moire artifacts if they are going to be an issue.
My entire workflow with the image was as follows:
- Open the Canon jpg file in Photoshop CC.
- Resize to 30″ x 45″ at 300 ppi
- Select a letter-size section of this resized image and crop it out of the full image. Since I am interested in detail reproduction and how the non-AA-filtering body handles potential moire, I took a section that included the radiating spokes of a ferris wheel against the linear forms of buildings.
- Apply my customary output sharpening for prints.
- Keeping the resolution of the 30″ x 45″ image, I printed the small section on 8.5″ x 11″ Epson Ultrapremium Lustre paper using my Epson 7900 printer.
The results?
If I handed most people the letter-sized printed extract they would probably think, “Not a bad print — not great, but fine.” But they would not likely notice that they were looking at a tiny fraction of an original 30″ x 45″ print. Skillful photographers and printers who looked closely would be able to see some things suggesting this… but once they heard that it was from a 30″ x 45″ inch print, I’m positive that they would join me in being very impressed. Detail is excellent, especially so for such a gigantic print size. I see no obvious examples of moire artifacts, and I’ve looked closely. I do not not see any smearing of colors, and I can see no noise whatsoever in the print of this detailed image. (I cannot say whether or how much noise would be available in an image of a subject with continuous or smooth gradient tones.)
Since this looked so good, I decided to take things to further and repeat the process — but this time resize to 60″ x 90″ at 300 ppi. For those who don’t know, that would be a very, very big print — four times the print area of the 30″ x 45″ print. Again I selected a letter-size subsection of the final huge image and printed it.
The results?
At this huge size I can certainly see that the image is softer — though whether that is a result of using a 16-35mm ultra wide lens or from the resizing or a combination of the two is open for debate. If you looked at the letter sized print and did not know that it was a crop from an image 5 feet tall and 7.5 feet wide, you would think it was soft. If you made the full print (which I’m not equipped to do!) you would be very impressed. I still see no aliasing/moire artifacts. I do see some slight color smearing in a few areas where there is a sharply delineated edge to a colorful area.
Bottom line: I’m confident that photographers using full frame images to make very large prints are going to like the results from this camera a great deal. I am certainly going to get one — in fact, I have pre-ordered a 5DS R from B&H. (You can do the same using the following links — the cost to you is the same, but you’ll help support this website and article like this one. Thanks in advance!)
Notes:
- Update 5/15/15: Since I first posted this article much more information about the cameras has become available, including reports and raw files from parties using late-beta versions of the camera. I have had a chance to look at some raw files and they seem quite good to me in every way that matters to my photography.
- Update: The cameras are now available for pre-order (as of 3/23/15), and I posted an article with more information more about the cameras.
- The original version of this article incorrectly stated that Canon’s example file was made with the new EF 11-24mm f/4L USM lens. The article has been edited to correct this error.
- As a side note, the level of detail in the sample image speaks very well for the resolving power of the Canon EF 16-35mm f/4 L IS lens.
5Ds and 5Ds R Articles:
 G Dan Mitchell is a California photographer and visual opportunist whose subjects include the Pacific coast, redwood forests, central California oak/grasslands, the Sierra Nevada, California deserts, urban landscapes, night photography, and more.
Blog | About | Flickr | Twitter | Facebook | Google+ | 500px.com | LinkedIn | Email
Text, photographs, and other media are © Copyright G Dan Mitchell (or others when indicated) and are not in the public domain and may not be used on websites, blogs, or in other media without advance permission from G Dan Mitchell.
