(This article has been slightly updated since it was originally posted.)
Earlier this morning I replied to a question about filters from a new DSLR owner who wondered which filters he “had to get” to use his new camera. I realized that this sort of question comes up from time to time, and I thought that the answer might be useful to others. So here it is!
With DSLRs there are typically four types of filters that most people might consider. You do not necessarily need filters – it is a question of shooting preference and some stylistic issues.
“Protective” filters
Some believe or have been told that they need so-called “protective UV filters” on their lenses. The thought is that these filters will protect the front element of your lens from possible damage, and there is an old school notion that reducing UV (ultraviolet) light will improve certain types of photographs. DSLRs are not sensitive to UV light in the way that film was, and there are some compelling arguments against using filters for protection in normal shooting. My thoughts on this are posted elsewhere on this blog.
I must acknowledge that opinions vary on this issue, and that this discussion (oddly, but like those about certain other photography equipment issues) can become rather heated. I don’t use protective filters. Others do. You’ll have to weigh the arguments yourself on this one.
Circular Polarizing (“CP” or “CPL”) Filters
Contrary to what you may think, CPL filters are generally not simply placed on the lens and left there, but they may be added occasionally for certain shots and in certain conditions. You do not necessarily need them, but in some situations they are useful. There are several things that they can do:
- In some photographs they can increase the contrast between things like clouds and sky, possibly producing a more dramatic photograph. This does not always work – it depends on things like the angle of the sun and the nature of the sky. It also does not work well on very ultra-wide-angle lenses. You almost certainly would want to use this effect sparingly, since it easily become a cliche.
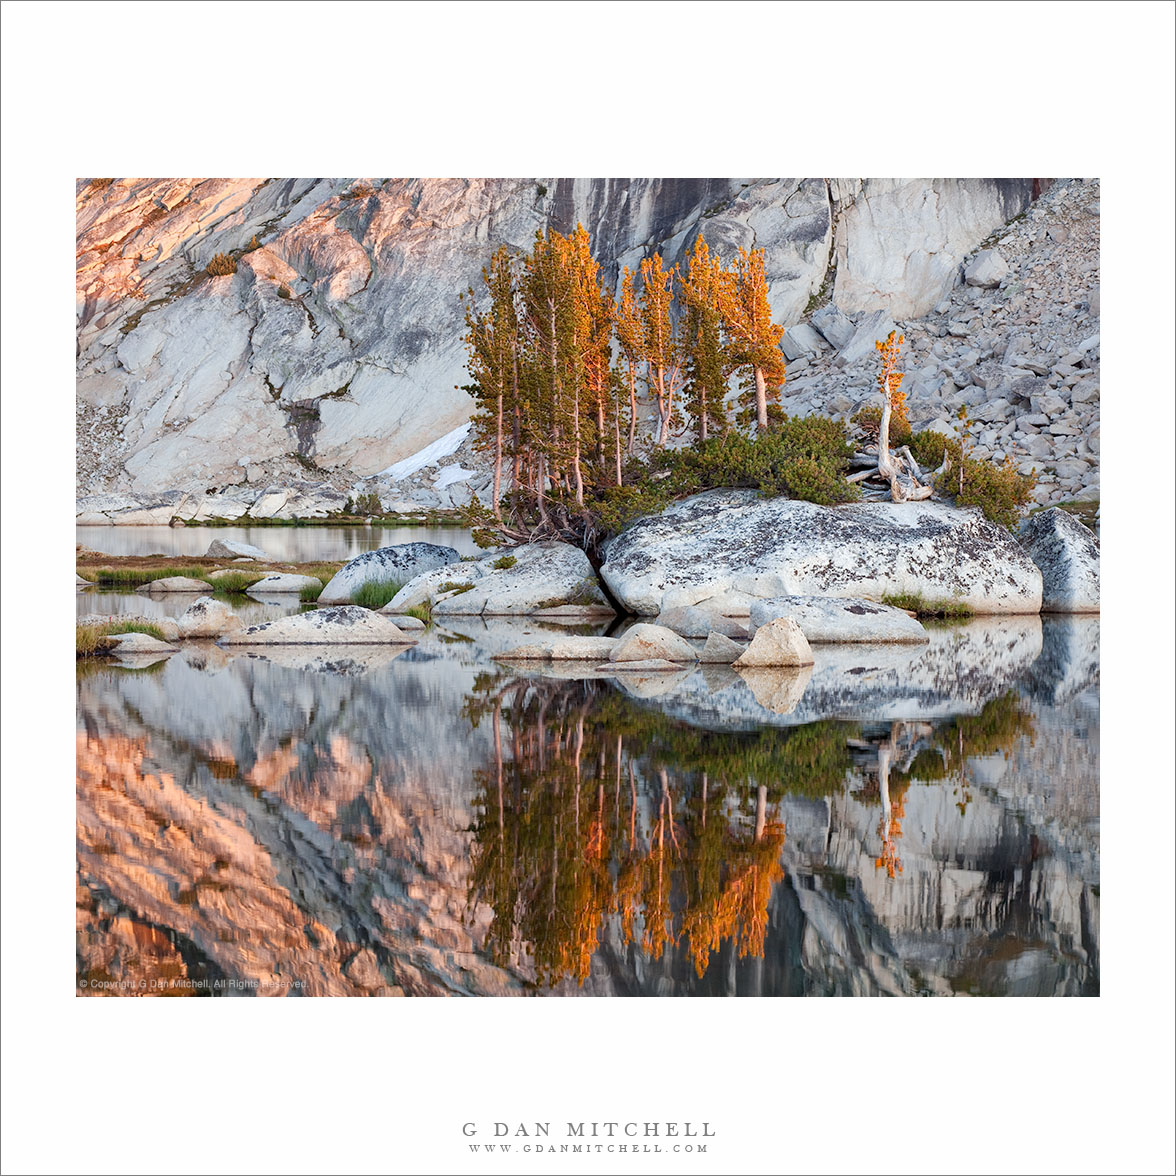
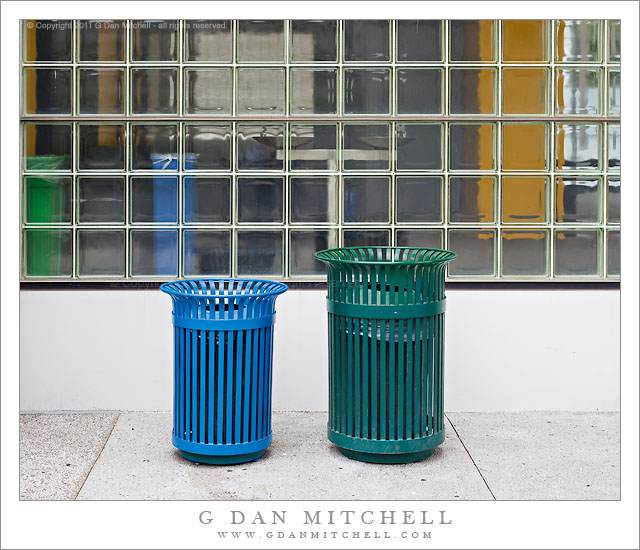
- The CPL can control or reduce reflections from things like the surface of water or windows. It can also be useful in some situations for reducing the reflections from shiny foliage. Some find the CPL useful for photographing waterfalls and cascades.
- The CPL can also function as a stand-in neutral density filter when you want to use a slightly longer exposure time or a larger aperture.
In the first two cases, you rotate the filter to control the effect. There is usually a small dot on the edge of the filter and you can maximize the filtering effect by rotating in 90 degrees away from direction of the sun.
Neutral Density (“ND”) filters
These filters simply darken the image by some number of stops, ranging from one stop to as much as 10 stops. ND filters allow you to use a longer exposure and/or a larger aperture in conditions that might otherwise not allow this. You might do the former to allow motion blur, for example with photographs of water or clouds. You might to the latter to limit depth of field in very bright conditions. (As noted above, a CPL can stand in for a mild ND filter in some cases.) Contrary to some claims you will read, they do not really alter the overall brightness or color balance of photographs at all. (The very dark 9- and 10-stop filters can produce an unwanted color shift.) Most photographers starting out will not need neutral density filters.
Graduated Neutral Density (GND) filters
These filters are darker on one half than the other, with the clear and darker sections separated by an area of relatively smooth gradation whose width may vary. The dark section may reduce the light by two or three exposures. An example of their use might be a scene with very bright sky and darker foreground – the filter is lined up so that the graduated section is on the horizon and the darkened section covering the sky. Although screw-in versions of these filters are available, their usefulness is very limited. More common are large rectangular versions that are attached by means of a holder in front of the lens and then positioned manually. This is a fussy bit of business, and if you are new to this it is quite unlikely that you want to “go there” at this point. (I have heard some argue that they should be called “gradated” rather than “graduated” neutral density filters. I may be dense, but I’m, uh, neutral on this question. ;-)
Filter Alternatives
Today we can emulate the effects of most filters in software. In most cases this gives us more options and greater control than attaching filters to the lens at the time of exposure, and it also means less gear to carry. The circular polarizing filters is an exception, in that you cannot really emulate its ability to control reflections using photography post-production software.
Bottom Line
In my opinion, if you just got your first DSLR and suddenly find yourself in the mood to start buying lots of accessories… hold off on getting filters for a while. Not everyone needs them, and at first you can probably do everything you need to do without adding this additional complication. Eventually, once you become more comfortable with your camera, the filter that is most likely to occasionally be useful to you is perhaps the circular polarizer since it is useful in several different ways and because its effect is generally not one you can duplicate in post-processing.
 G Dan Mitchell is a California photographer and visual opportunist whose subjects include the Pacific coast, redwood forests, central California oak/grasslands, the Sierra Nevada, California deserts, urban landscapes, night photography, and more.
Blog | About | Flickr | Twitter | Facebook | Google+ | 500px.com | LinkedIn | Email
Text, photographs, and other media are © Copyright G Dan Mitchell (or others when indicated) and are not in the public domain and may not be used on websites, blogs, or in other media without advance permission from G Dan Mitchell.